


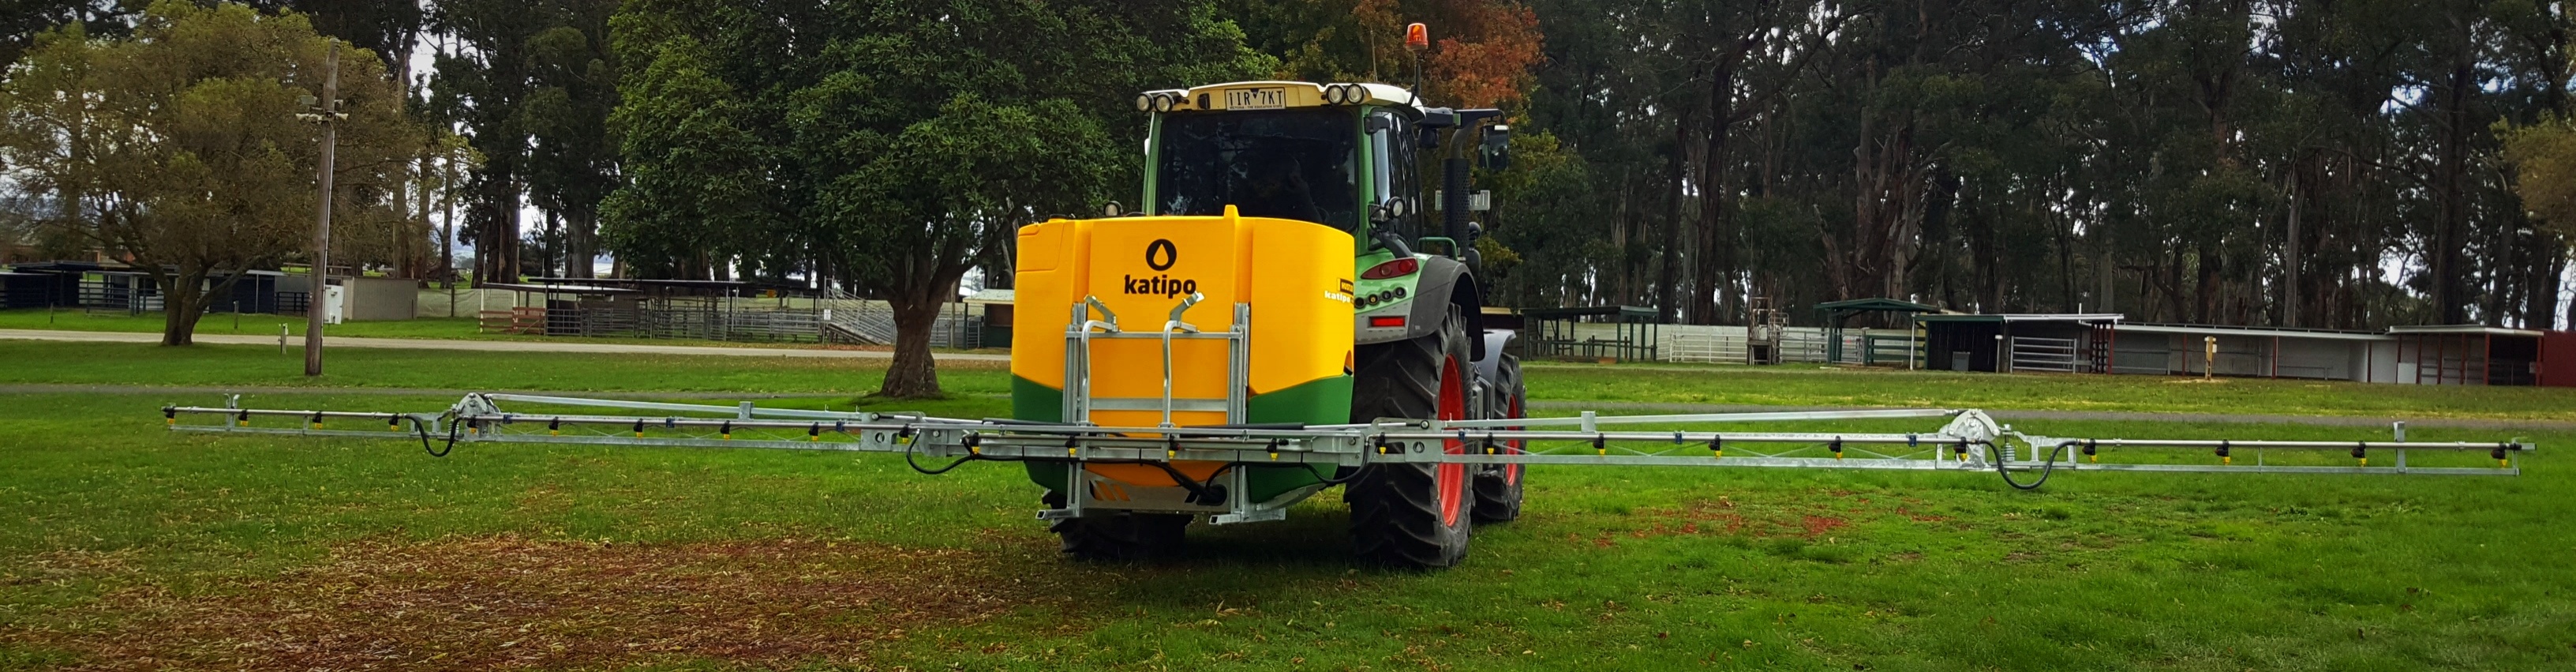
How to Protect Your Sprayer for Winter Storage
The polar blasts of Winter have already made their presence known, the final sprays of the season are being applied and soon it will be time to settle in for a cold winter. Here are some tips to protect your sprayer from frost damage…
Don’t forget about your sprayer! Spending a little extra time in the autumn will save you time and money next spray season!
WINTERIZING YOUR SPRAYER:
It needs to be taken care of so that it will survive the winter and be ready to serve you again when spring arrives, the fluid left in the tank, pump and hoses of the sprayer will freeze when temperatures drop below 0*C, which can cause some serious damage.
When the temperature drops overnight enough to freeze water inside the pump and hoses, but not the larger volume of water in the tank. Nothing is frozen solid so there is no visible danger, but when the machine is started, the ice jams the pump and can cause a total failure. To prevent this, if you suspect that the temperature will drop below 0*C overnight, be sure to park your sprayer under cover that night, and in the morning turn the pump by hand for a few turns to “feel” if there is ice jamming it. If there is any ice detected or suspected, wait for the ice to melt completely before operating.
Here is a step by step guide to preparing you sprayer for winter.
Be sure to clean and flush the sprayer prior to winterizing.
1. Add antifreeze to the empty tank.
Use about a 50% solution, or a dilution with water that will provide maximum protection for storage conditions (see guidelines on antifreeze container).
Automotive antifreeze is recommended for winterizing sprayers because it is less corrosive to spray equipment pumps and seals than RV antifreeze. However, automotive antifreeze is toxic and must be collected for reuse or disposed of properly.
2. Run the antifreeze throughout the entire spraying system.
When winterizing your sprayer, you can pump the antifreeze solution through the entire system including the nozzle, but ensure proper disposal of the solution when using automotive antifreeze. Ensure antifreeze is run through all components and accessories such as:
- Control valves
- Boom or boomless applicator
- Hose reels and spray gun
- Chemical mixing hopper
- Flushing tank
- Agitator

3. Make sure to drain all tanks and lines leaving the drains open when finished.
- Main spray tank
- Flushing tank
- Hand wash tank
- Mixing hopper
- Foam marker tank


4. Drain fluid from spray lines, boom tubes and nozzles
Use compressed air to blow out any liquid from solution lines if necessary.
- Remove caps at the end of stainless steel boom tube on each section
- Remove nozzle tips
- Remove and clean out any boom section filters
- Remove anti-drip nozzle diaphragm caps (optional)

REMINDER
This is a good time to apply any touch up paint and inspect sprayer for damage. Replace worn-out, deteriorated, or broken parts. Needing sprayer parts? Contact Hustler’s Aftersales Team for a FREE copy of The Ultimate Sprayer Parts Directory on 0800 487 853


